Launch host instance
How to launch host instance in the Amazon AWS Cloud.
We provide Live Transcoder as a Docker container downloadable from DockerHub. Therefore you need to have a host instance to run the Docker container on.
Live Transcoder needs an Nvidia GPU to work, so you need to use an instance with Nvidia GPU. We recommend using g4dn instances with Nvidia Tesla T4 GPUs as they provide a good price/performance ratio. We do not support Hopper architecture yet.
Select the region
We recommend selecting the region closest to you for the lowest latency. However, GPU instance prices vary between regions, so you may check other regions as well (you can check per-region instance prices in EC2 / Instance types).
Select the right instance size
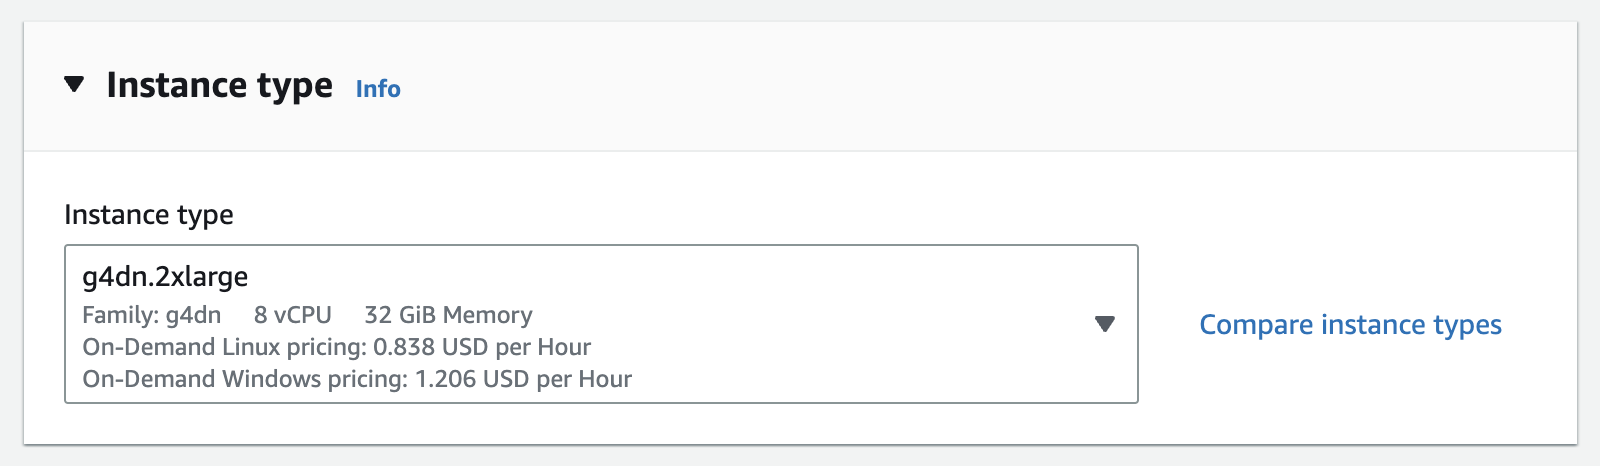
- We recommend you start with
g4dn.2xlarge(eight vCPUs, single Nvidia Tesla T4) instance size and change the instance type if needed. - Generally, you'll need two vCPUs per 1080p h264 4:2:0 8bit stream and sixteen vCPUs per 1080p h264 4:2:2 10bit stream, but this may vary with the resolution/quality/codec used.
- We strongly recommend you increase the instance size (vCPUs) if the overall CPU utilization exceeds 75%.
- Our support can help you choose the right instance size.
Using Framerate/Standards conversion?We recommend starting off with a more powerful instance if you plan to perform fully motion compensated standards conversion with Live Transcoder. Here are a few recommendations:
Conversion with Motion Compensation Instance size 1920x1080p25 - 1920x1080p29.97 g5.8xlarge 1920x1080p50 - 1920x1080p59.94 g5.16xlarge 1920x1080i50 - 1920x1080i59.94 g5.16xlarge 3840x2160p50 - 3840x2160p59.94 g5.24xlarge Please note that the standards conversion resource demand may vary from case to case.
If the maximum utilization (peaks) of the CPU is below 30%, you might consider to switch to a smaller instance.
If the maximum utilization (peaks) of the CPU reaches 80% or more, you might consider switching to a bigger instance to reduce the risk of frame drops.
Resource utilization can be monitored via UI on Live Transcoder's Dashboard.
GPU instance limit
- AWS limits how many GPU instances a user can run.
Check your current limits
- You can check your current limit for your region in Service Quotas / Amazon EC2 by searching for
Running On-Demand G and VT instances(g4dn, therefore G instances). Your current quota is theApplied quota value.

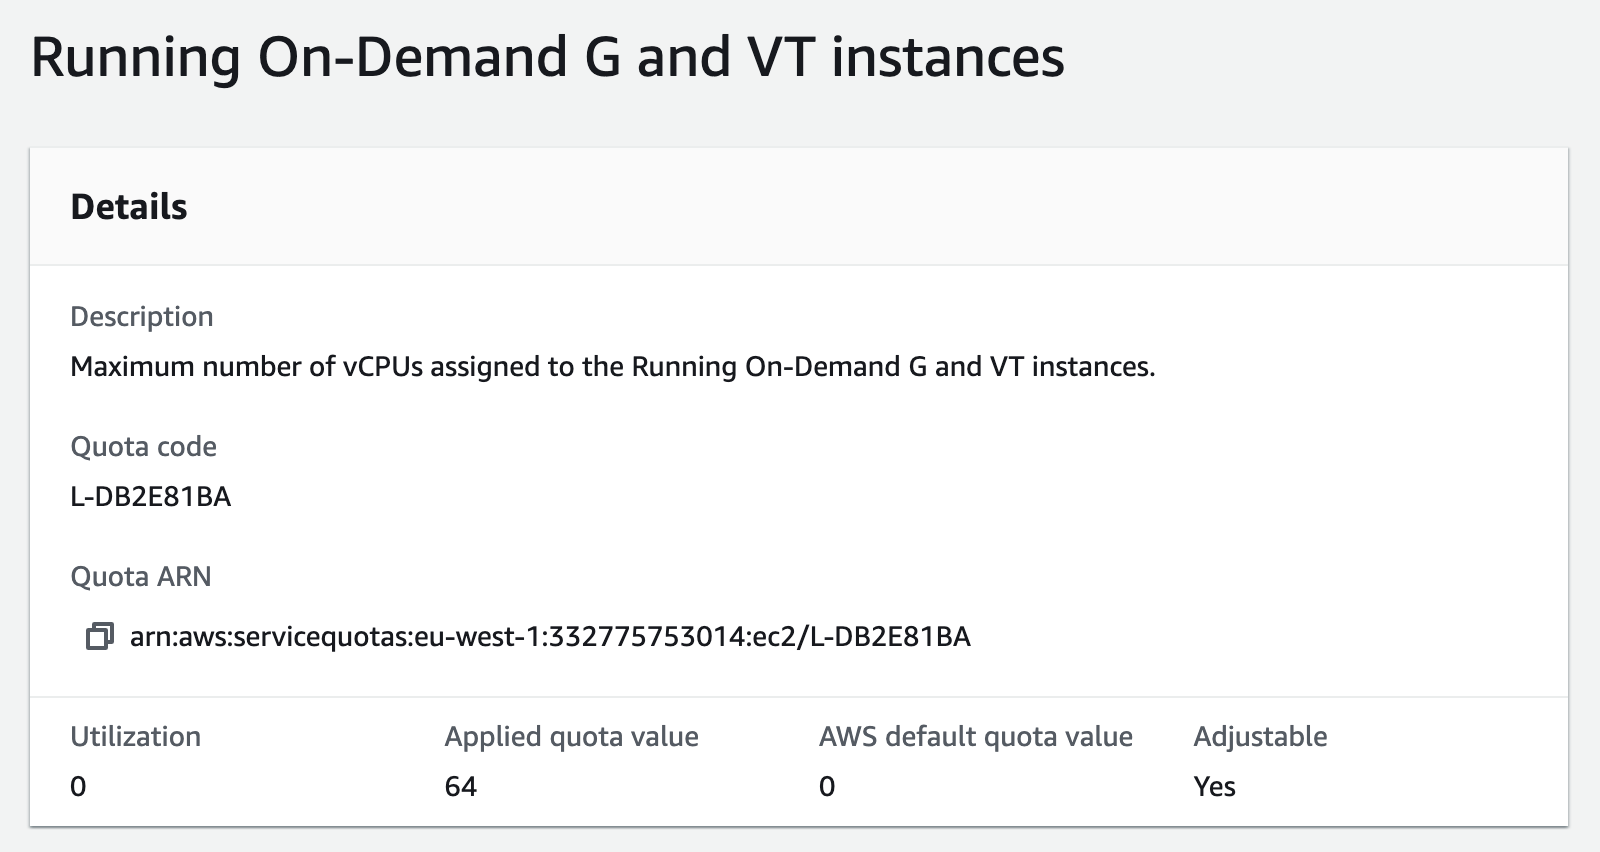
- The quota value says the maximum number of vCPUs your GPU instances can be assigned in total. For example, in the picture above, the quota value is 64 vCPUs, so it's possible to run four
g4dn.4xlargeinstances, each needing 16 vCPUs (g4dn specs). - You can have different default quota values - it varies based on region and current demand.
Quota increase request
- You can request the quota increase, but AWS needs to apply your request.
- These limits are applied per region, so you must request the quota increase in all regions you plan to run Live Transcoder.
- If you are unsure what value to request, ask our support, and they can help you choose the best value.
- Fill in the AWS form and wait until AWS support approves your request. It takes hours, sometimes longer.
- Double-check if your request is for the right region.
- When your quota is increased, you can launch the host instance.
Launch the instance
Head to EC2 / Instances and click the Launch instances button.
Select AMI
AMI means the instance OS. Use the Ubuntu-based Deep Learning OSS AMI. Search for Deep Learning OSS Nvidia Driver AMI GPU TensorFlow 2.18 (Ubuntu 22.04) and select the newest x86 version (not Amazon Linux 2023).

Instance type
Select the g4dn of the desired instance size.
Key pair (login)
- a.k.a. SSH private key
- It's used to ssh to the instance terminal.
- AWS won't show you the key again.
- Download it and keep it safe.
Network settings
Firewall/Security Group
By default, all network ports are closed for incoming traffic by the AWS firewall feature called "Security groups" and need to be enabled manually to receive traffic. Live Transcoder needs these ports opened:
- SSH (TCP port 22) - for SSH
- HTTP (TCP port 80) - needed for access to web UI and HLS output
- HTTPS (TCP port 443) - needed for secure access to web UI and HLS output
- MPEG-TS over RTP/UDP/SRT (UDP ports) - add custom ports for your MPEG-TS streams
- NDI (TCP&UDP) - needed for NDI to work, the easiest way is to open port range 5353-7999 for both TCP & UDP [NDI docs]
- RTMP input (TCP port 1935) - needed for RTMP server to listen on this port
Checking Allow HTTP traffic from the internet and Allow HTTPS traffic from the internet creates rules for HTTP and HTTPS for you, i.e., allowing you to access the UI of Live Transcoder.
Add new security group rules for NDI, MPEG-TS and RTMP input by editing the Network settings. We recommend renaming the security group to live-transcoder. You can reuse it later (or modify it) for another Live Transcoder instance.
Configure storage
Live Transcoder itself needs 100GiB of the gp3 storage.
If you plan to use HLS outputs, increase the value by additional calculated storage.
When using an instance with a smaller storage capacity, it is important to note that a significant portion of the free space is used for storing log messages in the journal. These log messages are crucial for diagnostics. Insufficient space for the journal can limit the ability to diagnose issues with the instance effectively.
To manage disk space efficiently, ensure you set the correct size forSystemKeepFree=andRuntimeKeepFree=in/etc/systemd/journald.conf.
Launch!
Assign static public IP to your instance
By default, your instance gets a new public IP address with each reboot/shutdown. To prevent this, you can assign your instance an AWS Elastic IP address. AWS charges you for an Elastic IP only when it's unused (when it's unassigned or its instance is shut down).
Allocate Elastic IP address
The Elastic IP address allocates a particular IP address for your instance. This address won't change upon instance restart.
Go to EC2 / Elastic IPs and click the Allocate elastic IP address button.